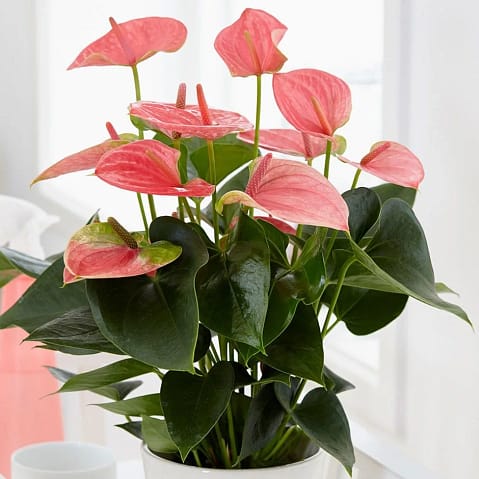
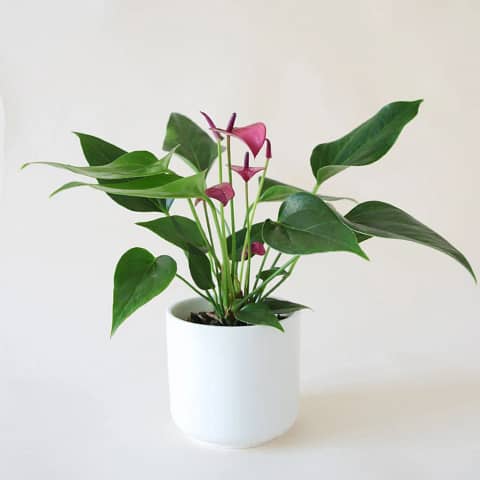
Flamingo flowers, also known as Anthurium plants, are truly exquisite indoor plants. With their lustrous, heart-shaped leaves and vibrant glossy flowers, they add a touch of beauty to any home. While you can easily find these stunning houseplants at a nearby nursery or supermarket, there’s no need to spend a dime if you already possess a thriving plant. To spread the joy of Anthurium without breaking the bank, familiarize yourself with the three distinct methods of successful anthurium propagation.
In this article, we’ll guide you through the fascinating world of Anthurium propagation. From stem cuttings to water propagation, root division to growing from seeds, we’ve got you covered. With our step-by-step instructions and insider tips, you’ll gain the knowledge and confidence to propagate Anthuriums like a pro.

Key Takeaways
- Stem cuttings, root division, and seeds are three methods of propagating anthuriums.
- Root division is the easiest and quickest method of propagation.
- Cuttings and seeds require more patience but can still be successful with careful planning.
- Each propagation method has its own requirements and timeframes, so it’s important to choose the method that best suits your needs and preferences.
Choosing the Right Anthurium Plant for Propagation
When choosing the right anthurium plant for propagation, make sure it has multiple stalks and leaves, as well as a stem with a few leaves and one or two nodes. These characteristics are important because they indicate that the plant is healthy and has the potential for successful propagation.
Multiple stalks and leaves ensure that the plant has enough energy reserves to support the growth of new roots and shoots. The stem with a few leaves and one or two nodes is crucial as it contains the necessary tissue for root and shoot development.
Nodes are the areas on the stem where leaves and branches emerge, and they contain the meristematic tissue responsible for new growth. By selecting a plant with these features, you increase the chances of successful propagation and the growth of a new, thriving anthurium plant.
How to Propagate Anthuriums using Stem Cuttings
Propagation using stem cuttings is one of the most common methods of Anthurium Propagation. Here’s how to do it:
- Select a healthy anthurium plant with multiple stalks and leaves
- Choose a stem with a few leaves and one or two nodes
- Use sterile pruning shears to cut the stem just below a node, preferably close to the base of the mother plant
- Place the cutting in a jar of water or a sterile potting mix
- Ensure the roots are well-aerated
- Keep the soil consistently damp, but avoid overwatering
- Increase humidity by covering the plant with a clear plastic bag
With careful planning and patience, anthuriums can be successfully propagated using stem cuttings.
Water Propagation: How to Grow Anthuriums in Jars and Pots

Water propagation is an effective method to propagate anthuriums, allowing you to enjoy the beauty of these plants in jars or pots. Here’s how to do it
- Select two healthy anthurium stems with a few leaves and one or two nodes
- Cut the stems beneath a node, close to the base of the mother plant
- Use sterile pruning shears to prevent infections
- Place the anthurium cuttings in a jar of water or a sterile potting mix
- Choose a mix such as cactus soil and orchid bark mix or peat, bark, and perlite mix
- Ensure the roots are well-aerated, as anthuriums are epiphytic plants
- Keep the soil consistently damp, but avoid overwatering
- Increase humidity by covering the plant with a clear plastic bag
- Care for the anthurium cuttings with patience and proper care
- Wait for the roots to grow and thrive in the water or potting mix
How to Propagate Anthurium Plants from Seed
You can propagate anthuriums from seed by cross-pollinating flowers and planting the seeds in damp vermiculite or peat moss.
To begin, collect anthurium seeds from mature berries or artificially cross-pollinate flowers to obtain fresh seeds.
Next, prepare germination trays with damp vermiculite or peat moss, ensuring the medium is moist but not overly wet. Place the seeds onto the surface of the medium and gently press them in, ensuring good seed-to-soil contact.
Cover the trays with a clear plastic dome to create a humid environment and place them in a warm, well-lit area.
Regularly check the trays for signs of germination, which typically occurs within 4-6 weeks.
Once the seedlings have grown a few leaves, carefully transplant them into larger planters filled with a well-draining potting mix.
With proper care and patience, you can successfully propagate anthuriums from seed and enjoy their vibrant blooms.
Plant the separated plants in a peat-based potting mix and provide them with medium light and temperatures above 70 degrees Fahrenheit for optimal root development.
Root Division: How to Divide Overcrowded Anthuriums

If overcrowded, you can divide your anthuriums by carefully separating the plants using a sterile knife or pruning shears.
Anthuriums are often grown in pots, and over time, they can become overcrowded, leading to stunted growth and decreased flowering.
To divide your anthuriums, start by selecting a healthy plant and gently remove it from the pot.
Inspect the root system and identify natural divisions or clusters of plants.
Using a sterile knife or pruning shears, carefully separate the plants, making sure to retain fleshy roots and growth points.
Tips and Tricks for Successful Anthurium Propagation
To improve your chances of successful anthurium propagation, try misting the cuttings daily to maintain the necessary humidity. Misting helps to mimic the natural environment of anthuriums and promotes healthy root development.
Additionally, make sure to provide adequate light, as anthuriums thrive in bright, indirect sunlight. Avoid placing the cuttings in direct sunlight, as this can cause damage to the delicate leaves.
It’s also important to keep the soil consistently moist, but not overly saturated, as excessive water can lead to root rot. Consider using a well-draining soil mix, such as a combination of peat moss and perlite.
Finally, be patient and allow the cuttings enough time to establish roots before transplanting them into larger pots.
Following these tips and tricks will greatly increase your chances of successful anthurium propagation.
Want to know which type of Anthurium to Propagate? Check out our article on the Stunning Varieties of Anthuriums to see which one is best for you
Frequently Asked Questions
Can Anthuriums Be Propagated Through Leaf Cuttings?
Yes, anthuriums can be propagated through leaf cuttings. Select a healthy leaf with a stem and place it in water or a sterile potting mix. Keep the soil damp and provide humidity for successful propagation.
How Long Does It Take for Anthurium Stem Cuttings to Root?
Anthurium stem cuttings usually take about 4-8 weeks to root. Remember to choose a healthy stem with leaves and nodes, and use sterile pruning shears for a successful propagation journey.
What Is the Best Time of Year to Divide Overcrowded Anthuriums?
The best time of year to divide overcrowded anthuriums is during early spring. Retain fleshy roots and growth points while separating the plants. Use a sterile knife or pruning shears to cut the sections apart.
How Long Does It Typically Take for Anthurium Seeds to Germinate?
Anthurium seeds typically take around 4-6 weeks to germinate. To promote germination, plant the seeds in damp vermiculite or peat moss, create a humidity dome, and place them in a warm, well-lit area.
Can Anthuriums Be Propagated in Soilless Potting Mixes?
Yes, you can propagate anthuriums in soilless potting mixes. Consider using a mix of cactus soil, orchid bark, and perlite, or a mix of peat, bark, and perlite. Ensure good aeration and keep the soil consistently damp.